...Unique Creative Styles and Content For Animation
Links
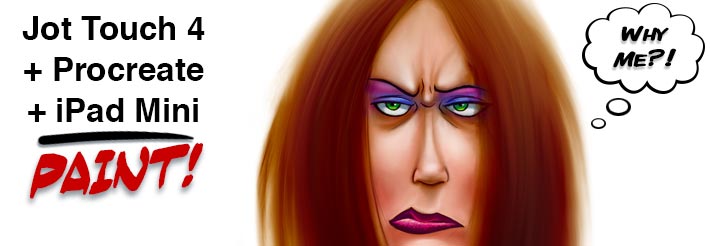
Jot Touch 4 + iPad Mini Painting Tutorial #1
A Mini Tutorial/Review on Using the Jot Touch 4 with Procreate on an iPad Mini
Concept
On thing I’ve come to the conclusion with these tools and program, is that having experience doing one thing (Painting) in another program (Photoshop,) carries to any other program you use. For example, the fact that I’ve used Photoshop since it first came out, and I’ve been doing this for the past 20 years, 15 at an Animation Studio, does help. SO I’ve decided to share my knowledge with you so as to prevent you from 1) giving up, 2) get frustrated to the point that you throw your, by now cold, Mocha Frappuccino at the person in front of you, and 3) to make sure that you don’t give up...
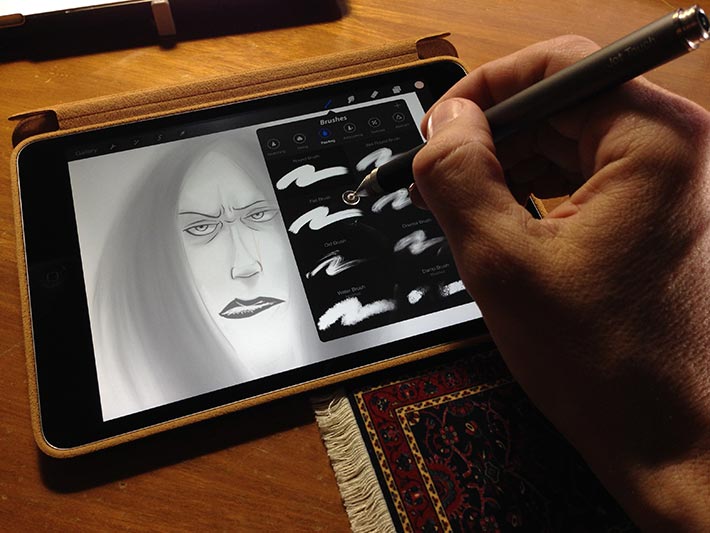
First: Some Observations
Very simple process once you figure out what Procreate calls what, and how they do certain operations and how some tools behave opposite to Photoshop, but the whole process is the same...
• Layers will be layers, and they have Layers’ Modes like in Photoshop, but they are called Blends...
• You can Clear, Fill, Select the Content and merge layers, Up and Down...
• Locking Transparent Pixels (as is called in photoshop,) is called Lock Alpha...
• Modes (known as Blends,) are divided in groups:
Darken: multiply / linear Burn / Color Burn...
Lighten: Lighten / Screen / Add / Color Dodge...
Contrast: Overlay / Hard light / Soft Light...
Difference; Exclusion / Difference / Subtract...
Color: Hue / Saturation / Color / Luminosity
• You can Mask things...
• You can “Transform” things around, even with proportion and scale restrictions!...
And I think that’s all you need! But remember: Procreate’s Brush customization is what makes this program so amazing...
Simple Painting Process
My process is very simple: I draw a sketch and using layers and Modes, and then I proceed to “tint” (bellow) the sketch using layers and their “modes,” like Multiply, Hard Lights, Color, Tint, etc, etc.
Here’s what my process would look like in 3D:

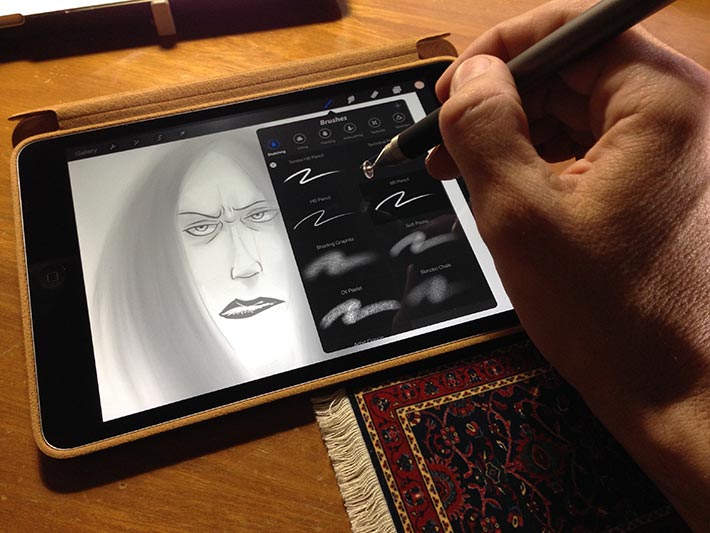
I use Procreate’s brushes with minor modifications to mimic real Tombo Pencils when I sketch...
I then create a new layer - this will be where I paint, and I move the drawing atop that new layer...

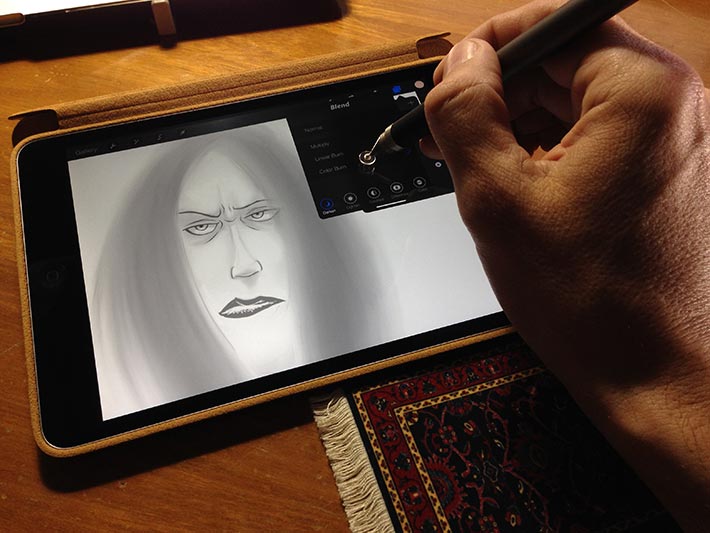
I change the sketch’s layer’ Mode (Blend) to Multiply...
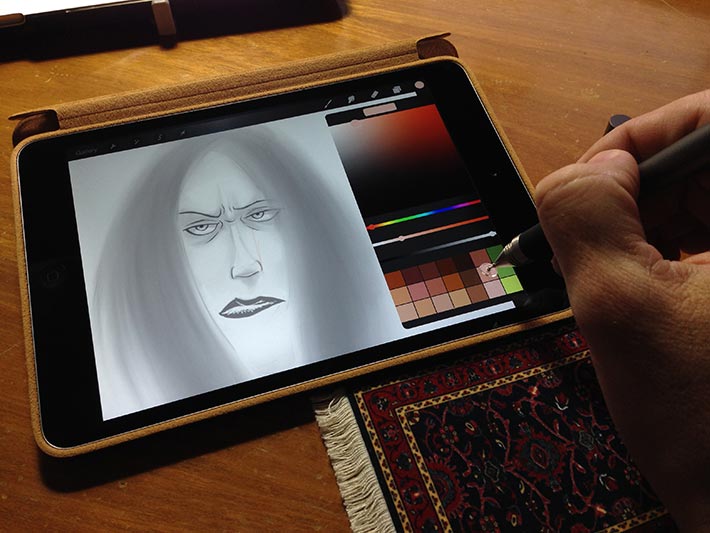
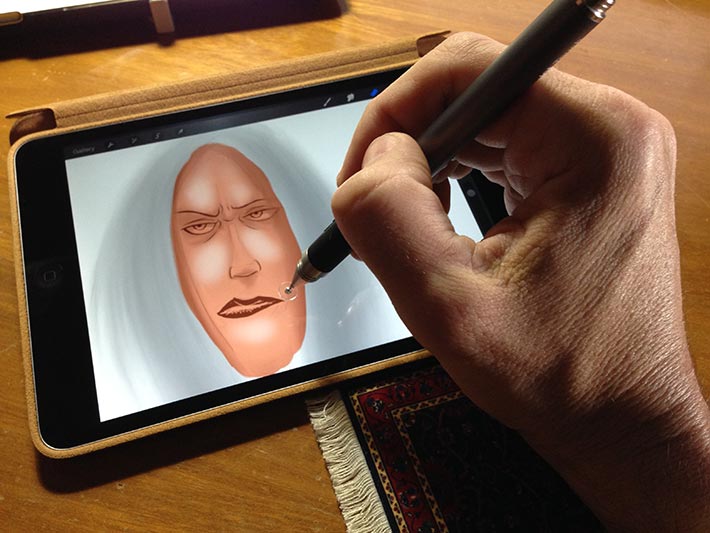
I create my own palette of skin colors...
I use big brushes to “block” the color...
I don’t worry about the paint “spilling” all over the place since I can always erase it. Remember that you can create selections too! If you want, you can even paint different parts in different layers, but because I treated this as a ‘quick” color sketch to learn the program, I didn’t bother...

Like a “glaze” process, I use the eraser and I take away some of the paint revealing the white canvas. Since I’m painting on a “transparent” layer - think of painting on a piece of glass or an animation “cell,” I tend to paint a layer then either reduce the layer’s opacity if needed, and I merge that layer with the one bellow, just like painting Oils: one glaze at a time...
Once I’m happy with the “base color,” I move on to a new layer to add more color “accents”. I first drop the color down and experiment with the Layer’s Mode (Blend.) At this part of the process all the color has been merged onto a layer filled with white. The sketch is always atop in its Multiply Mode (Blend)...
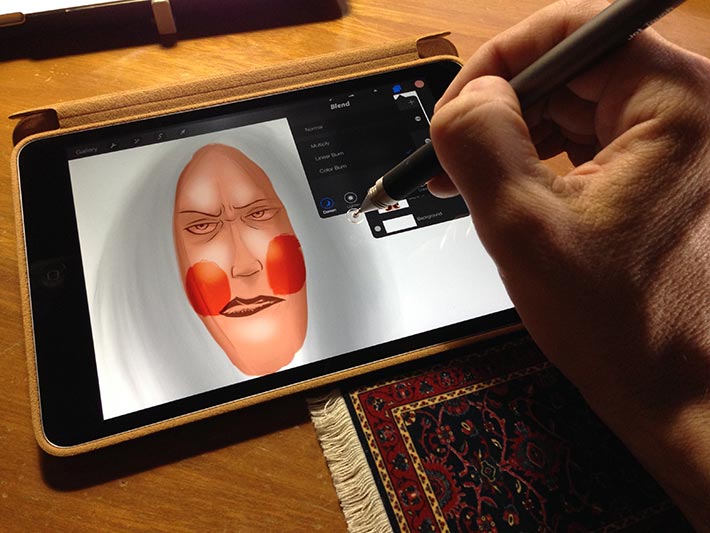
I use the Smudge Tool to blend the colors. This tool is lots of fun, and depending on your settings, it acts like a traditional Oil Paint-blending brush....
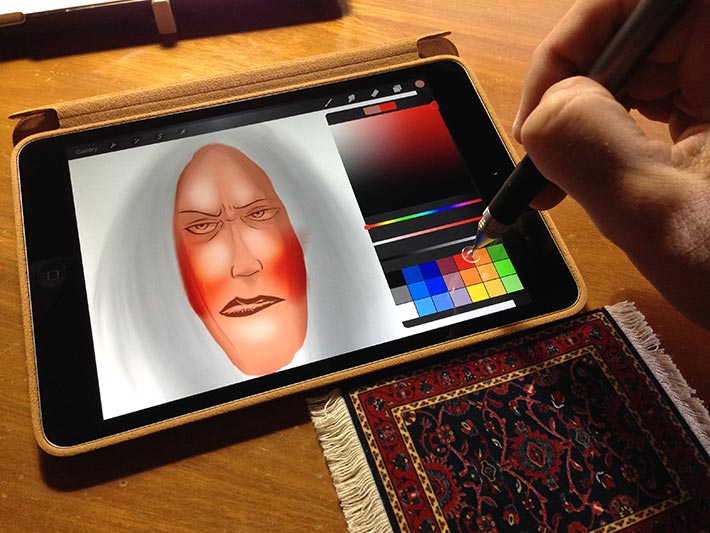
If I feel like the color is not quite there, I will use the Adjustments to change the Hue, Saturation, Brightness and Color Balance. I can even use Curves!...

At the end, I always make a copy of the original sketch, then I merge the color layer with the new duplicate of the sketch, so I can blend the drawing and the color together...
And that’s about it for the process!
Final Observations
For the price, the Tools, the easy of use and the price, Procreate is an amazing and powerful tool, a MUST for today’s Artist. From beginning ...
Sketching to the final color sketch, I spent no more than one hour - since I had to learn the program using manual - that you can download for FREE onto your iPad!... Oh! I almost forgot: I also had a Decaf Caramel Flan Latte and THREE madeleines while doing this color sketch!
Check out the final - and very rough, color sketch:

(Click on the image!)
As you can see, the Jot’s pressure allows you to create nice smooth strokes. You can get a great thick-n-thin out of your strokes and a smooth blending of the colors...
The actual image was based on the “Retina” setting that Procreate gives you (2048x1536px,) but I cropped the image to 1232X1536 pixels. Click on the image to see the original version!...
Hope this helps anyone with their decision on purchasing a Jot Touch 4 or Procreate!
Cheers!