...Unique Creative Styles and Content For Animation
Links
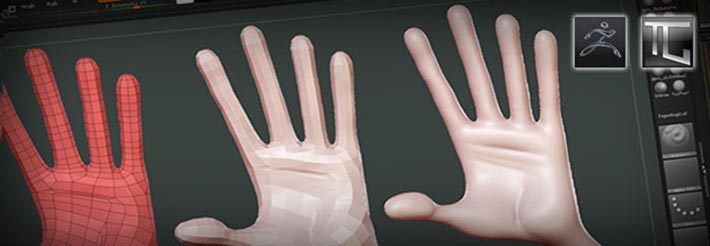
Tutorial: ZBrush/TopoGun Mesh Retopology
A Step-By-Step Tutorial On How To Retopologize A Rough Sketch For Better Efficiency
Preface
So! Like many of you, I wanted to create a character setting pipeline that will enable me to quickly sketch, retopologize and continue to sculpt on a “proper” Animation-ready mesh…
The Pipeline is very simple, but it requires a strict step-by-step path, which must be adhered to - for time efficiency, and various CG programs. You can do this in your 3D programs of choice - Maya, ZBrush, TopoGun and Photoshop in my case...
Levels Of Detail In Sculpting
Level Of Detail (LOD,) refers to the three progression stages in both design - as in character design, and in the execution of the design - as in this case, sculpting…
In this tutorial I’m only going to cover a technique that I use in the first level of detail (blocking,) but here is the rest of my sculpting pipeline:
Step 1: Blocking...
1) Building a low-res cage. You can do this in your 3D program - Maya in my case, or in ZBrush, which I will show using simple PolySpheres…
2) Quick rough sketching using Dynamesh…
3) Create new topology (Retopology,) in your software of choice - Topogun in my case…
4) Re-importing the retopologized mesh and projecting detail from original sketch…
Step 2: Sculpting...
5) Finalizing the major Sculpting in ZBrush and adding Props and other secondary Design elements…
Step 3: Adding the High Frequency Details...
6) Sculpting High-Frequency details like, skin pores, wrinkles, etc…
7) Creating and exporting Normals, Color and Displacement maps...
To Be Continued!…
Cheers!
Please do Share, Pin or Tweet!